Feeds:
Posts
Comments

Archive for the ‘Healthy’ Category

flower on stone“We have come into this exquisite world to experience ever and ever more deeply our divine courage, freedom and light!” — Hafiz

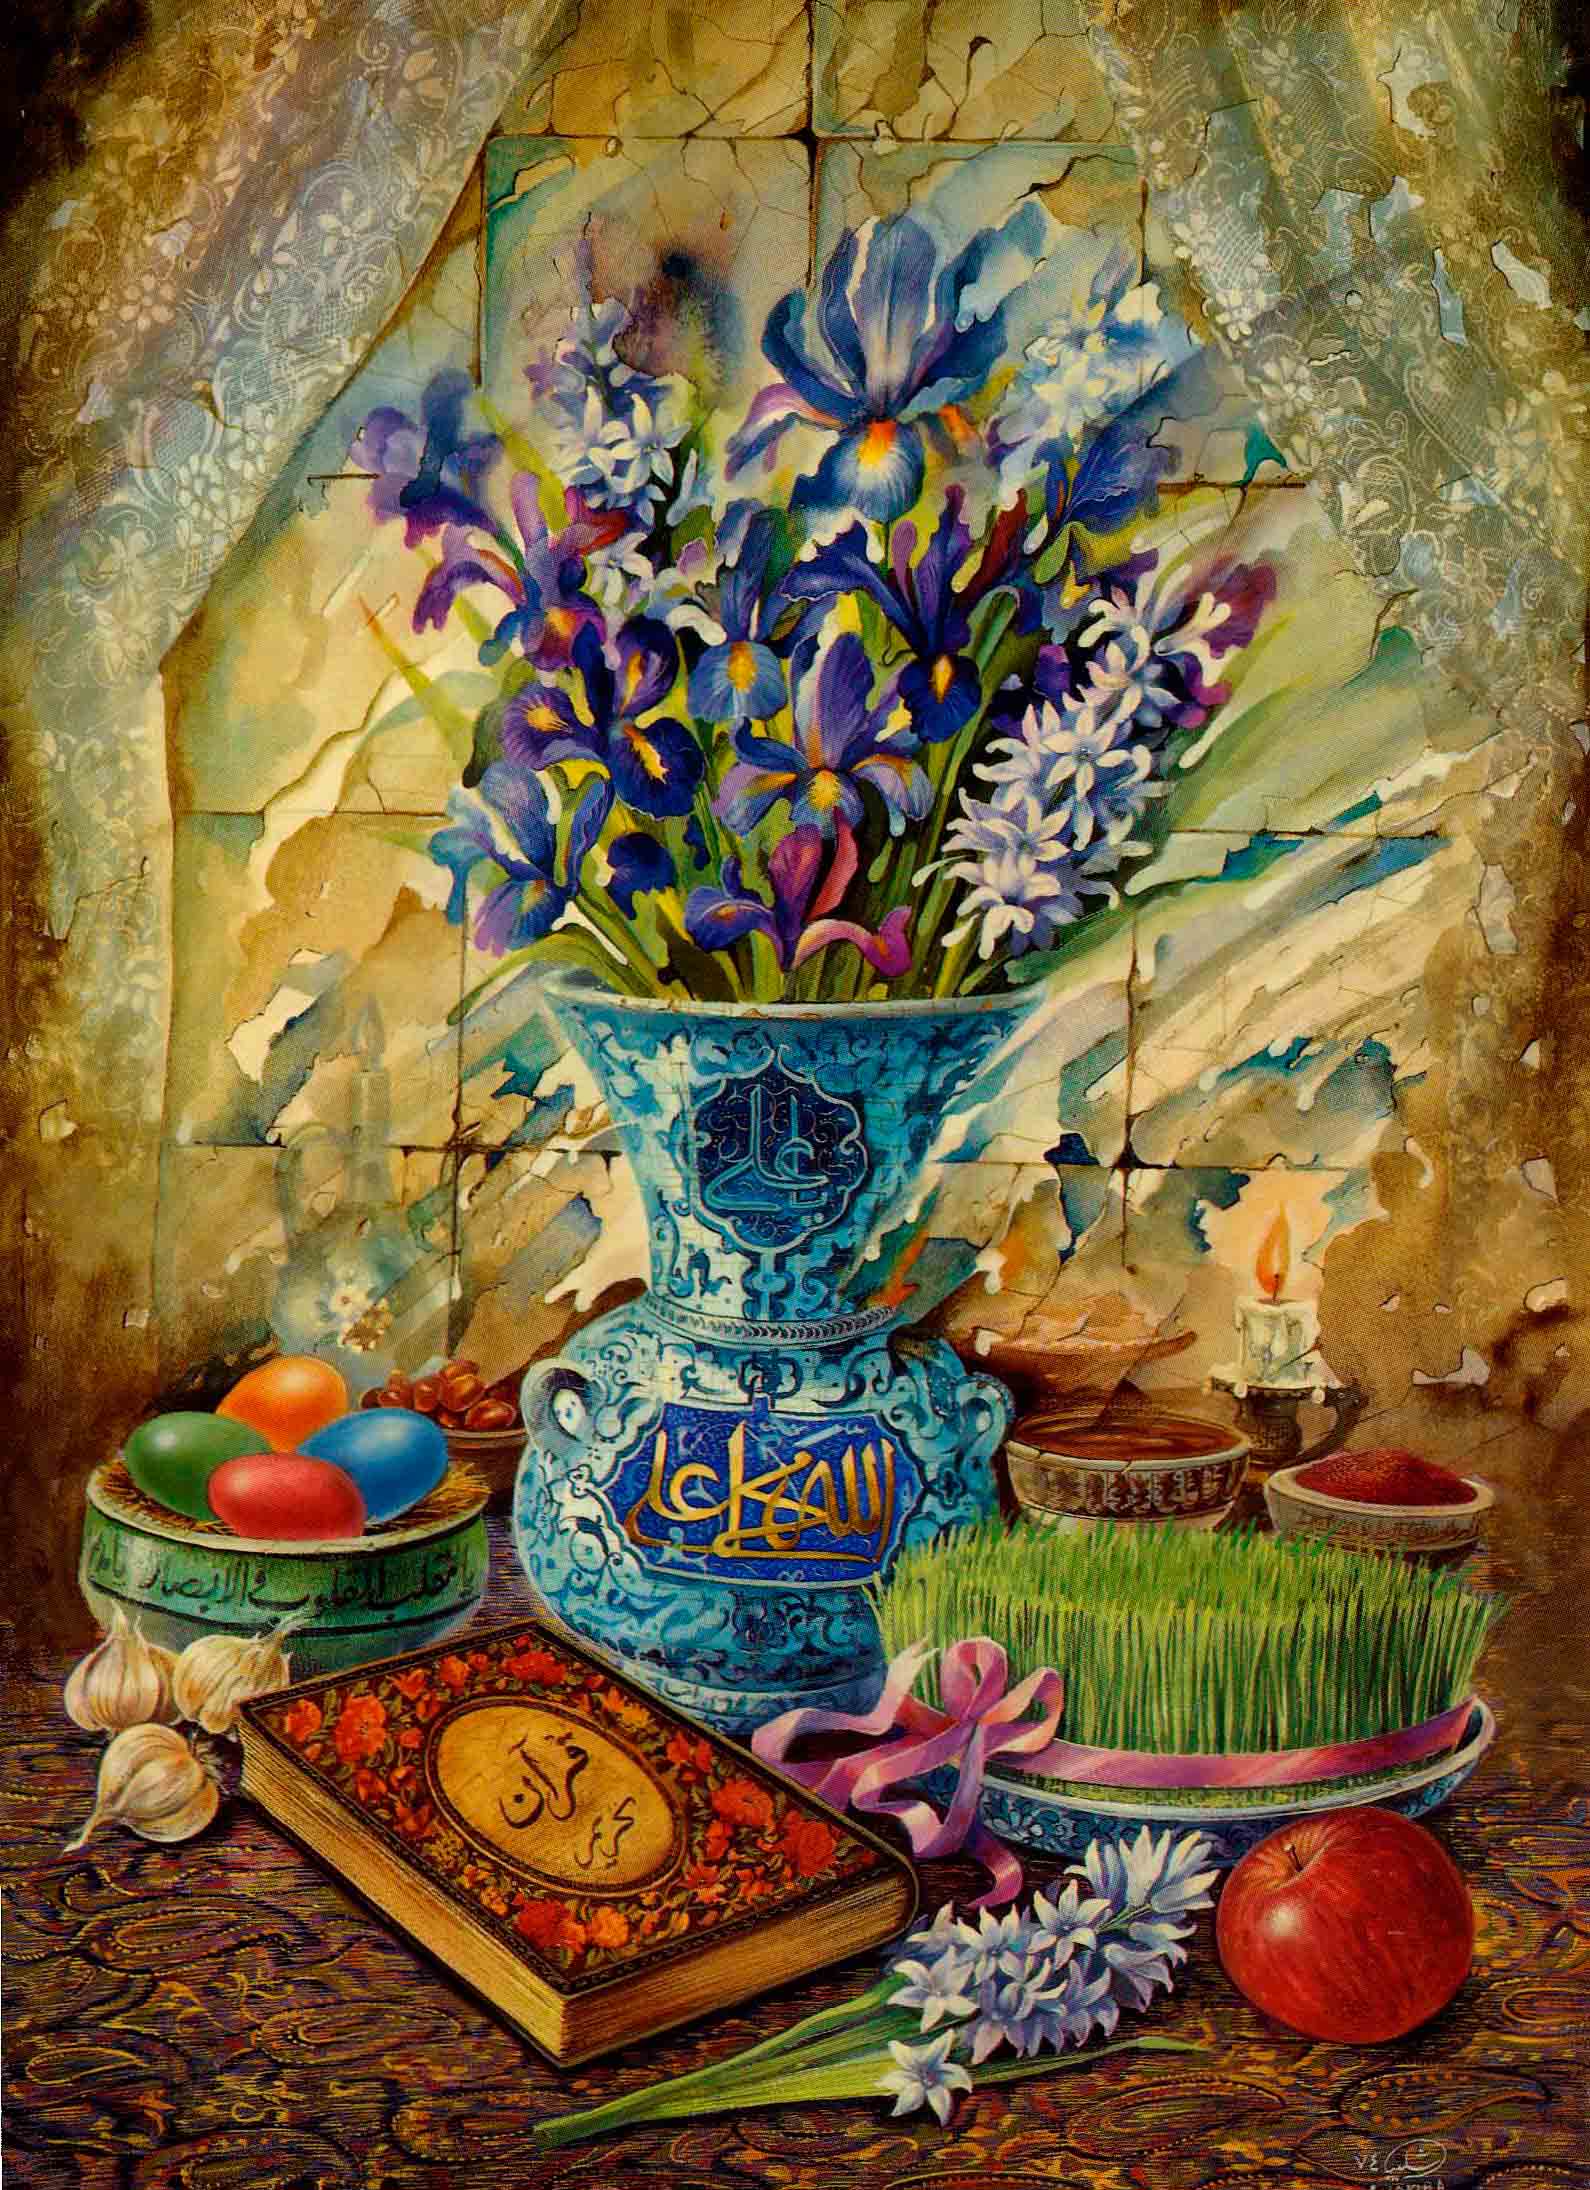
What a perfect quote to embody New Year. Persian New Year, that is, aka  Nowruz!

To me, it just feels right and natural to have a new year start with the promise, rebirth, and blossoming of spring.

Spring is a reminder of the inner light within each and every one of us. That’s worth celebrating!

Persian Card_New_YearsScroll down below for a roundup of highly celebratory (and symbolic) recipes from fellow Persian food bloggers. 

Thanks to the fabulous Sanam, of My Persian Kitchen, for putting this together!

Oh, technically the big day of the Persian New Year is always the spring equinox, which falls on Thursday, March 20, this year. Now’s as good a time as any to spread the happiness and to prepare for a fresh new season.

At the moment, I’m in a bit of Spring Cleaning Mode. (Oooof, those closets needed every ounce of attention I gave them last weekend. Ha!) I’m also prepping to host another yoga retreat, in upstate New York/in the Hudson Valley area.  March 14-16—perfect timing to get us ready for spring.

Looks like 2014 is a year of new beginnings for me in many ways. I’m headed to India at the end of the month. This trip has been a dream of mine for many years. At just the right time,  the stars aligned, the Universe and those I love are shining their support and approval on me, and I’m flying off on the night of the new moon. It’s happening!

As for Spring Cooking:

This is a classic clip for my (somewhat limited) TV archives. Here I am cooking kuku sabzi on live TV for Nowruz. This was on Good Day New York a.k.a Fox 5 a few years back:

More blogger Persian New Year goodness:

Read Full Post »

Easy slow cooker meatballs with loads of Persian spices.

I feel like such a bootleg Persian, because I don’t grill kebab at least weekly. We did this a lot growing up. And nowadays, I love to visit the fam and eat a good grilled meal or two. Indeed, that’s a trip highlight. But as long as I call my outdoor space free NYC apartment home, I don’t see lots of impromptu, casual grilling nights in my future. The good ol’ George Foreman grill, while perfectly functional, just isn’t the same as open flames.

So for now, I’ve turned to the slow cooker. It’s quite the opposite of grilling,  I suppose: just prep the food, load up the cooker, and walk away. For hours. To that end, I’ve taken a ground chicken kebab mix and turned it into meatballs.

Serve them atop my easy rice, with a veggie side. Traditionally, Persian kebabs are served with a chunk or two of grilled tomato and onions, plus lots of fresh herbs. Here, instead, I’ve gone more in the direction of a khorest/stew, and made a saucy tomato-based mix that tastes quite good indeed. No grill required.

Persian Chicken Meatballs

See note below for stovetop option

  • 1 pound of ground chicken breast
  • 1 large egg
  • 1 Tablespoon grated onion
  • 2 cloves garlic, grated very finely (I use a microplane for a fine grate)
  • 1/3 cup plain breadcrumbs
  • 6 Tablespoons Advieh/Persian Spice mix (sold as in specialty markets, on Amazon, or make your own using my easy recipe)
  • 4 Tablespoons saffron water (pinch of saffron dissolved in hot water)
  • 2 Tablespoons turmeric
  • Couple of pinches each of cumin and coriander
  • 1 to 2 teaspoons salt
  • 1 teaspoon pepper
  • 1 Tablespoon water
  • neutral cooking fat of choice (I used coconut oil that has no coconut flavor, and a couple of dabs of ghee)

1. In a medium bowl, crack the egg and beat it. Add in onion, garlic, breadcrumbs. Now add in HALF of your Advieh/Persian spice mix, half of the turmeric, and half of the saffron water. Add in a pinch each of cumin and coriander. Finally, add salt and pepper.

2. With your hands or with a fork, gently add in chicken and mix everything together until egg mixture is well integrated into the meat. Don’t overwork.

3. Wet your palms. Grab a couple of tablespoons of meat mixture, and using the palms of your hands, form into a meatball. Repeat until you have 15-18 equal sized meatballs.

4. Heat up cooking fat in a skillet or Dutch oven over medium heat. Fry 5 or 6 meatballs at a time for a minute or two on each side. You’re looking for a nice golden or golden brown color, not to cook them all the way through.

5. As meatballs cook, place a 14-16  ounce can of tomatoes in slow cooker. Break up tomatoes with a spoon or fork. Throw in the rest of the spices. Mix.

6. Gently add in meatballs to tomato mixture and set cooker for 2-4 hours. (In my cooker, they’re done at 2 hours, so I either switch to “keep warm” mode if I’m home; if not, they’re okay to cook for the full 4 hours. )

7. Check tomato sauce and adjust seasoning to taste.

NOTE: Stovetop Option

Follow recipe through step four. Remove meatballs from pan, then add tomatoes and spices to the pan.  (Make sure you’re using a deep skillet or even a Dutch over here). Mix well and bring to a simmer over a medium heat. Lower heat to low, add meatballs, and cover with a lid. Cook for 20 minutes. Taste and adjust seasoning as needed. If you desire a longer cooking time, add water as needed so the sauce doesn’t dry out. If in doubt that meatballs are cooked through, use a food thermometer to check, or cut one in half to verify it’s cooked completely.

Read Full Post »

It’s been a minute since I’ve posted a Persianized recipe on here. Sorry about that! These saffron spiced pecans are the perfect remedy to my laziness, and they make a fabulous holiday gift.

Persian spiced saffron pecans are easy to make and make delicious holiday gifts.

I apologize right now for the “spoiler,” because some of ya’ll who read this are getting these as part of your Christmas package. (Sorry, Dad, but you’re just so challenging to buy for!) If anything, after seeing this post, maybe they’ll be looking forward to their nuts.

A nice change of pace from the Yoga pants and ponytail. Tribeca, NYC, December 2011.

Anyways, I’m about done with holiday gifting. I deliberately keep my gifting list short, and am a big believer in showing appreciation and affection to friends and fam throughout the year. I do have a couple of post office runs to make to mail off gifts, and some of you know how I feel about those. Yeesh!

Things have been busy on the part-ay front as well. I’ve already been to like 4 holiday parties, with more to come. Admittedly, it’s kinda exhausting, but fun. And hey, any excuse to trade in the Yoga pants for a cocktail dress and 6-inch heels? I’m there, honey! Sometimes with bells on, literally. Jingle-ling-a-ling!  😉

Ok, let’s get it on with these nuts. (Sorry, I’m so incredibly mature…you didn’t think we were gonna get outta here without a nut pun, a Dr. Dre reference, AND an Marvin Gaye shout-out,  now did you?)

Saffron Spiced Roasted Pecans

Recipe an adaptation of one by Dorie Greenspan, from Around My French Table. Easily doubles, triples, and so on. . . .

  •  1 egg white
  • 2 Tablespoons of honey, agave, maple syrup, brown rice syrup, etc. (You choose; I used honey)
  • 2 cups whole pecans
  • 1 Tablespoon saffron water (to make, just put a pinch of saffron thread in 1/4 cup hot, not boiling water. Jar and fridge the unused portion)
  • 2 Tablespoons advieh (Persian spice mix) OR pumpkin pie spice (they have similar ingredients).
  • 1 teaspoon salt

1. Preheat oven to 300 F.  As oven heats, in a mixing bowl, run a whisk through the egg white a few times.

2. Add in honey (or sub), salt,  and spices. Whisk some more until well blended.

3. Fold in the nuts and mix to coat well with spice mixture.

4. Line your baking sheets (I used 2) with foil, and then pour nuts and any liquid into a single layer on each sheet. Bake for 20 minutes, checking for crispness at 20 minutes. If you need to bake more, do another 5 minutes. I’ve never had to bake these for more than 25 minutes.

5. Remove from oven. Let cool slightly, then carefully remove from foil. Let cool more, then bag them up in cute gift baggies.

Read Full Post »

Buckets and buckets of dates. Date syrup is an easy way to use up dates so you can enjoy snacking on premium dates like the ones in the pic. Photo courtesy of stock.xchng

I’m loathe to waste anything. Perhaps this is a Persian thing. Or perhaps not. It’s definitely a “me” thing.

Recently, I lucked into a big, fresh batch of medjool dates. They’re creamy, caramel-y, and just perfect. But wouldn’t you know it? I had some other dates lying around that were looking pretty sad.

You know I was not going to let those sad, dried out little dates go to waste. I’d feel too guilty enjoying the plump, sassy ones I’d just been given knowing that the dry, pathetic ones were just sitting there, dessicating even more. Ha!

So date syrup to the rescue.

Me, my student Mythili, and Meera, at the Wanderlust Festival in Vermont earlier this summer. It was one interesting and fun June weekend!

Now I have a sweetener for my tea, baked goods, no-bake sweets, and whatever else I can think of. Best of all, it’s natural and makes good use of mineral-packed dates. And I get to snack on those other awesome dates guilt free. Well, not completely guilt-free. I don’t fast for Ramadan. Mad props to those who do, but I don’t. So in an act of restraint, I’ll try not to eat too many dates during the day as the fasting month kicks off in a few days. (Dates are a popular food to break the daylong fast with).

As to the recipe, it’s so simple, I’m not typing out a formal recipe. Because it’s summer and I roll super simple in the summer. Ha!  In my Vita-mix, I blended:

  • 20 dates, pits removed
  • 1 and a half cups of water
  • 1 Tablespoon of lemon juice
  • 1 teaspoon of vanilla extract

This yielded a good two cups of syrup. I just blended until it was smooth, which made the syrup liquidy and pourable. If you’re looking for a thicker texture, use less liquid.

I’ll be back at some point with a re-cap of some of my summer travel adventures, including my taking to the streets of NY on my bike. But for now, I’m off to enjoy more watermelon, which I’ve been eating tons of lately, and a chill evening. You all take care and stay cool.

Read Full Post »

At my recent Yoga retreat, quinoa was on the menu, but we ended up not making it. We had so many other delicious things, so it fell out of the rotation. I didn’t miss it, because I thought I didn’t really like it. Until now. You will, too, I bet. You could even take this to any Fourth of July festivities you might be celebrating this weekend. It’s easy to make and travels well.

I used white, also known as yellow, quinoa in my recipe. Look for it in the rice/grain section part of your store. Technically, it's not a grain. It's a seed. And it's gluten-free and very high in protein as well. Photo via wikipedia.

Back to my quinoa breakthrough. Imagine, cooking quinoa according the package directions, and it turning out awesome? Who’d have known? Certainly not me, as I’m not always one for following directions. I can barely make my own recipe the same way twice, much less another person’s. Ha!

I stumbled upon this recipe the other night when “shopping in my cabinets.” I decided to do something novel for me and made the quinoa according to the package directions (fry a cup of quinoa for 20 seconds in butter or oil, add two cups of boiling water, cover, simmer for 20 minutes, covered, over a low heat).

Happy Birthday, America. You're 235, you say? Well, you're forever 21 to me.

As it cooked, I chopped up a bunch of veggies that were hanging around unused: some roasted red peppers, celery, a couple of artichoke hearts. I added a can of (drained) white beans. Then I mixed this all into the fluffy quinoa, along with a couple of drizzles of olive oil, some ground cumin, and some Trader Joe’s 21 Salute seasoning (salt-free and very versatile!) I threw in some nutritional yeast, too.

It was a hit, and a new summer staple was born. It tastes lovely hot, cold, or at room temp. It travels well, and it’s light yet filling. It’s a flexible recipe: vary the veggies and spices and come up with  your own combos. Plus, quinoa is high in protein; along with the beans and veggies, you have a balanced one-dish meal or side.

Quinoa, I’m sorry for my past indifference and for leaving you out of the retreat festivities. I promise I’ll make it up to you somehow, someday!

Fluffy Summer Quinoa Salad

Ingredients to serve 4 as a side, 2 as a main dish:

  • 1 cup quinoa
  • oil or butter of choice
  • water
  • veggies of choice (such as peas, peppers, onions, artichoke hearts, asparagus, olive chunks, scallions, whatever you desire/have on hand)
  • 1 can of bean of choice, drained (I used white beans)
  • salt and pepper to taste
  • spice blend of choice (I used Trader Joe’s 21 Seasoning Salute)
  • ground cumin (couple of pinches)
  • nutritional yeast or parmesean cheese, grated (optional)

1. Cook quinoa according to package directions.

2. As quinoa cooks, chops up veggies, drain beans, and gather spices.

3. Once quinoa is done (takes about 20 minutes), remove from heat.  Fluff with a fork, add spices. Lightly stir. Add oil. Fluff a bit again. Add veggies and beans and stir again. Taste and adjust seasoning, oil, and veggies amounts if   needed. That’s IT!

Read Full Post »

Finally! Pancake perfection. They're gluten-free and dairy-free, too!

Pancakes are so very simple to make, yet to very easy to screw up. Bad memories, such as brunches ruined by stubborn flapjacks, burned pancakes, undercooked pancakes, tough pancakes, and just plain fugly pancakes kept my expectations low for my recent flapjack foray.

Try adding a gluten and dairy free caveat to the recipe requirement and the ante is upped. So I figured the best thing to do was relax.

Have you ever noticed how sometimes things turn out the best when you have zero expectations?

Closer, closer. See how fluffy they are?On a recent random workday, between teaching classes and a challenging workout, a serious pancake craving hit me. So I threw together the only pancake mix I had on hand, a gluten-free Bob’s Red Mill mix. Because I love sunflower seed butter and wanted to bump up the protein content of my cakes, I added approximately three tablespoons of that stuff. Good call! Instead of cow’s milk, I used some creamy coconut milk from Silk that I had on hand.

The resulting cakes were fluffy, tender, and oh-so-satisfying. Perhaps the best I’ve ever made, and quite possibly the best I’ve ever eaten. Not bad for someone with an uneasy relationship with pancakes!

Want to snag the gluten free flour and coconut oil at a steep discount? Roll on over to iherb and use my coupon code, TAV642, for $5 off of your first order. Orders of $40 or more ship FREE. Trust me, you can get tons of good stuff at iherb for $40: vitamins, supplements, protein powders, chia seeds, soaps, and tons of other cool stuff. Ok, now for the recipe:

Victorious Gluten Free Sun Butter Pancakes

Yield: approx 12 pancakes. I made 2 for myself and put the rest of the batter in the fridge to use throughout the week.

  • 1 and 1/2 cups Bob’s Red Mill Gluten Free Pancake Mix
  • 1 cup coconut milk (I used the new coco milk by Silk; it doesn’t taste coconutty to me at all, but IS creamy)
  • 1 large egg (for vegans, you could try your luck with a flax or chia seed egg or another egg stand-in. Look here for deets.)
  • 1 teaspoon vanilla extract
  • 3 Tablespoons Sunflower Seed Butter (I used Trader Joe’s brand; I’m sure any other nut butter would be great in here)
  • 2 or more Tablespoons coconut oil for greasing pan

1. I mixed all ingredients except for the coconut oil in my Vita-Mix. Because I’m crazy like that and really love any excuse to use the Vita. You can surely mix your ingredients by hand, as described on the pancake mix package directions. (Just remember to leave OUT the oil the package directions call for. Because you’re using more than enough oil by using nut butter; plus the nut butter adds an awesome flavor and protein to the mix).

2. Heat the coconut oil over medium heat in a nonstick pan. Don’t skimp on the oil in this part of the recipe!  Use more if you need to. Trust me on this. Then dollop about 1/3 of a cup of batter in the pan. I did one pancake at a time. Depending on the size of your skillet, you could do 2-4 at a time.

3. When the pancakes are bubbly all over, gently and carefully flip them over and allow them to brown on the other side. Then wrap them in foil and place in a low heat oven or toaster oven to keep warm. Or just eat immediately.

Half-eaten and fully delicious!

Read Full Post »

Oven fried chicken nuggets stay moist thanks to a coating of nut butter, and crunchy courtesy of panko crumbs. Early-season broccoli rabe is my veggie side, and Trader Joe's Mango Ginger Chutney serves as the dipping sauce du jour.

I love chicken nuggets. I know, really sophisticated of me? Ha!

Edited to Add: I was born and (mostly) grew up in Texas, where fried chicken was on the weekly menu rotation, at least in my earliest years. I’ve always loved it. Just the smell of it makes me nostalgic. But I can’t always eat it, for obvious reasons. These flavorful nuggets satisfy the crunchy, chicken-y craving, and aren’t as messy and hot as frying up a batch of chicken. Plus, my fried chicken never seems to taste quite as good as my mom’s.

Luckily, I’ve figured out how to give chicken nugget morsels a healthy, grown-up, and tasty upgrade.

The key ingredients? Nut butter plus panko bread crumbs (that stuff that makes tempura so crunchy and awesome at your favorite Japanese spot. Panko bread crumbs have become increasingly common in regular grocery stores in recent years. Progresso brand makes them, as does Roland. Roland is the brand I used in this recipe. I paid about $1.25 on sale for my 7 ounce bag, which will last awhile).

Yum!

Coating chicken chunks with the nut butter of your choice is a great way to get crunchy panko crumbs to stick, and stick well, to the chicken pieces. Then just pop them in the oven for 15-20 minutes, and you have an irresistible nugget delight. The nut butter gives them another boost of flavor, and keeps the breast meat, which often tends to dry out, nice and juicy.

No panko crumbs? Try regular breadcrumbs from the store. Gluten free needed? Then coat the nuggets in nut butter, followed by a dusting of the ground nuts of your choice.

You can use the nut butter of your choice. I’ve tried this with almond butter, peanut butter, and sunflower seed butter. All work equally well, as does pistachio nut butter, which I made a batch of recently. Here’s the recipe link to Pistachio Honey Nut Butter:

Pistachio nut butter. Easy to make at home and a worthwhile option to coat your chicken nuggets in before dredging them in panko bread crumb awesomeness.

Bonus Tip: Prep extra nuggets and freeze them in a single layer, covered well. When it’s time to eat, just remove them from the freezer and bake them according to the directions below. No thawing necessary.

Baked Nut Butter Chicken Nuggets

Ingredients to make 2-4 servings (2 as entree, 4 as an appetizer):

  • 1 pound of chicken breast, cut into chunks
  • Seasoning blend of your choice
  • Salt (ONLY if seasoning blend is unsalted)
  • 1/2 cup nut butter of choice, more if necessary
  • 1/2 cup panko bread crumbs (or alternatively,bread crumbs from a can, or ground nuts)
  • Splash of water (might not need)

1. Preheat oven to 450 F.

2. Season the chicken with the seasoning blend, adding salt if necessary.

3. Spoon nut butter into a mixing bowl.  Mix well. If it seems a bit dry, put in a tiny bit of water to loosen it up (it should be a texture that is slightly thinner than honey).

4. Place chicken chunks in nut butter and toss to coat, using your hands or a spoon to coat all sides.

5. Throw panko crumbs on top of chicken and mix well. If necessary, press crumbs into the chicken so they adhere. Make sure all sides of the chicken are coated with crumbs. Shake off excess crumbs.

6. On a baking sheet, in a single layer, bake the nuggets for 15 to 20 minutes.You don’t even need to turn them!

7. Serve with the side/s and or dipping sauce of your choice.

Read Full Post »

Pistachio Nut Butter with a touch of honey. It's actually very easy to make your own pistachio butter.

Lately I’ve been “shopping” in my own pantry and fridge to use up goodies already on hand and keep some money in my pocket. There is so much upheaval and need in the world on any given day, but lately it seems like so much is going on. It gets a bit overwhelming sometimes. So I’m focusing on having an attitude of gratitude and creating more with less.

It just so happens that I am lucky enough to have a surplus of pistachios at the moment, so I decided to make a nut butter with them. It took all of five minutes, turned out great, and I already have some easy recipes ideas in mind to use it in. Anything that’s good, I’ll share with you.

Of course, it’s quite delicious on its own. Or melted a bit on top of ice cream, in a sandwich, or mixed into oatmeal. Those are just a few ideas; as you can see, there are tons of uses for this stuff, as with any nut butter. Leave your ideas in the comments.

Stay tuned for some upgrades to West of Persia. I’m working on an Amazon store for the site, and also have a cool giveaway coming up.  Have a great day!

NOTE: Take a look at your blender or food processor’s instructions for making nut butters, and adjust your use of your machine as needed when making this, or any,  nut butter. I made mine with my Vita-Mix, and just used the wet blade (I don’t own the dry blade).

Homemade Pistachio-Honey Nut Butter

For approx 2/3 cup of nut butter:

  • 1 cup pistachios, shells removed
  • 2-3 Tablespoons oil (I used grapeseed oil)
  • 1 Tablespoon honey
  • 1-2 Tablespoons water

1. Grind the nuts in your machine until they’re broken down into chunks, but NOT pulverized.

2. Now add in oil, a Tablespoon at a time. Also add in honey and about half a tablespoon of water. Grind on low as a paste begins to form.

3. Stop blender, scrape down sides, and re-blend, adding water IF NEEDED little by little to get (or keep) things moving. Repeat this step as needed. Stop blending when the desired consistency is reached. I like my nut butters chunky sometimes, so I left this pistachio butter on the chunky side this time.

Read Full Post »

Avocados star in this creamy, vegan milkshake, along with pistachios and coconut milk.

You won’t believe for one second that my Creamy Pistachio Almond Milkshake is healthy. No way. In fact, anyone who drinks it will swear it’s decadence in a glass. It’s a great way to get the good fats and other awesome nutrients from avocados, coconut milk, and pistachios into your body. Remember, don’t fear the good fats!

This is one of those recipes that came together in no time, with ingredients I had on hand, including an avocado that needed to be used up pronto. The avo gave it a beautiful pale green color, almost minty.

Creamy Pistachio Avocado Milkshake (Vegan)

For one milkshake, 16-20 ounces, or two smaller shakes, combine the following in a blender:

  • 1/2 avocado, ripe, flesh removed and seed discarded
  • 1 banana (can use 1 frozen banana)
  • 1/4 cup pistachios, shelled (unsalted is best, but salted is fine)
  • 1 cup coconut milk (I used So Delicious Plain. Canned works, too.)
  • 1 teaspoon vanilla extract
  • 1 teaspoon orange blossom or rose water (optional)
  • 1 Tablespoon French Vanilla So Delicious Coconut Creamer (optional)

1. Place all ingredients in a blender.  Blend all ingredients together until well incorporated, smooth, creamy, and thick. Use additional milk if you desire to thin the milkshake. Pour, serve, and enjoy.

Read Full Post »

Ginger, garlic, and chile are the foundations of this simple soup. I used chipotles that were pre-cooked in adobo sauce, but you could use other peppers if that's easier for your. Photo courtesy of stock.xchng.

What’s that old saying?  “Life is what happens when you’re busy making other plans.”

That’s what this week feels like. Here I was with big plans to do the following:

  • A thorough, if late, deep housecleaning to prep for Persian New Year (Nowruz).
  • Batches and batches of cookies baked (and photographed and blogged about!)
  • To send out some of said treats as gifts.
  • A delicious Persian New Year feast over the weekend.
  • Oh, and to teach just shy of 20 classes. . .
  • . . . AND to serve as a bridesmaid in my friend’s wedding this weekend.

Yeah, right. That sound you hear? That’s the Universe laughing at my plans.  Loudly. I’m laughing now, too, at myself for thinking I could get all of that stuff done, even under the best of circumstances. You see,  I started feeling not so great late last week, and haven’t been quite able to shake the feeling since. So I scaled back on my ambitions, focusing on resting and working and, quite frankly, just getting through the week. (Don’t worry, I don’t teach with a fever and I’m not doing adjustments this week just to be on the ultra-safe side).

I have so much garlic around my place. It's slightly ridiculous, and no, I don't fear vampires 😉 Photo courtesy of stock.xchng.

I also threw everything but the kitchen sink (and the doctor) at this annoying bug. You name it: Vitamin C, immune supplements, kombucha, juices, garlic, ginger, spices, cake, sleep, TV, movies, tea, menthol, baths, books, carbs, probiotics, Swedish bitters, and probably at least a half-dozen more things.

It’s been quite stubborn. Very strange, considering I’m rarely sick.

On the positive side, I did make a soup that truly helps me feel better. I breathe deeper and feel less achey when I eat this. It’s super simple to make, otherwise I never would have made it. Ha! It’s not Persian, not even Middle Eastern. It IS good, though, and I’m so grateful for the simple healing powers of ginger, garlic, and chili. When tossed in my slow cooker, they created some kind of magic:

Spicy Soup with Ginger, Garlic, and Chili Pepper

Ingredients

  • 1 chunk of ginger, peeled (about 2 Tablespoons)
  • As many garlic cloves as you want, peeled (I did about 5)
  • 2 chipotle chiles in adobo sauce (can sub other chiles if that’s easier for you)
  • 1/2 medium onion, in chunks
  • 32 ounces chicken or veggie broth
  • 2 potatoes, cubed
  • 1 cup of baby carrots, cut into bite-sized pieces
  • 1 can chickpeas, drained (14-16 ounces)
  • Slivered scallions for garnish (optional)
  • Avocado as a topper (optional)
  • 1 Teaspoon cumin (optional; if you don’t use chipotles in adobo, use some cumin to pick up that smoky flavor)
  • Salt and pepper to taste

Directions

1. In a blender, combine ginger, garlic, chili, onion, and broth. Blend until smooth.

2. Pour mixture in a slow cooker. Add potatoes and carrots, and cumin, if using. Stir. Cook for 4 hours.

3.  Stir in chickpeas. Taste and adjust seasoning (the broth can be salty, so make sure to taste first before adding salt)

4. Ladle into bowls and serve topped with scallions and/or avocado chunks.

Read Full Post »

Older Posts »